A 3-way switch allows you to control a single light fixture from two different locations—typically used for hallways, stairwells, and bedroom entries. This installation requires three wires between switches, proper terminal connections, and adherence to electrical code. With the right understanding of wire colors and terminal positions, you can safely wire this configuration yourself.
Understanding 3-Way Switch Basics
Before grabbing your tools, you need to understand how 3-way switches work. Unlike standard single-pole switches that simply break or complete a circuit, 3-way switches are designed with three brass terminals (common, traveler 1, and traveler 2) that allow the circuit to be controlled from two locations simultaneously.
The power source connects to the common terminal on the first switch. From there, two traveler wires run to the second switch’s traveler terminals. The common terminal on the second switch connects to the light fixture. When either switch is flipped, it reroutes the traveler wire path, completing or breaking the circuit regardless of the other switch’s position.
Key components you’ll need: two 3-way switches, appropriate gauge wire (typically 14 AWG for 15-amp circuits or 12 AWG for 20-amp circuits), a junction box at each switch location, and a light fixture with its own junction box. Always turn off power at the breaker and verify the circuit is de-energized using a non-contact voltage tester before beginning work.
Step-by-Step Wiring Instructions
Step 1: Turn Off Power and Test
Locate the correct breaker for your circuit and switch it to the off position. Use a voltage tester to confirm no power reaches the existing switch boxes. This is your most critical safety step—never skip it.
Step 2: Prepare the Wire Runs
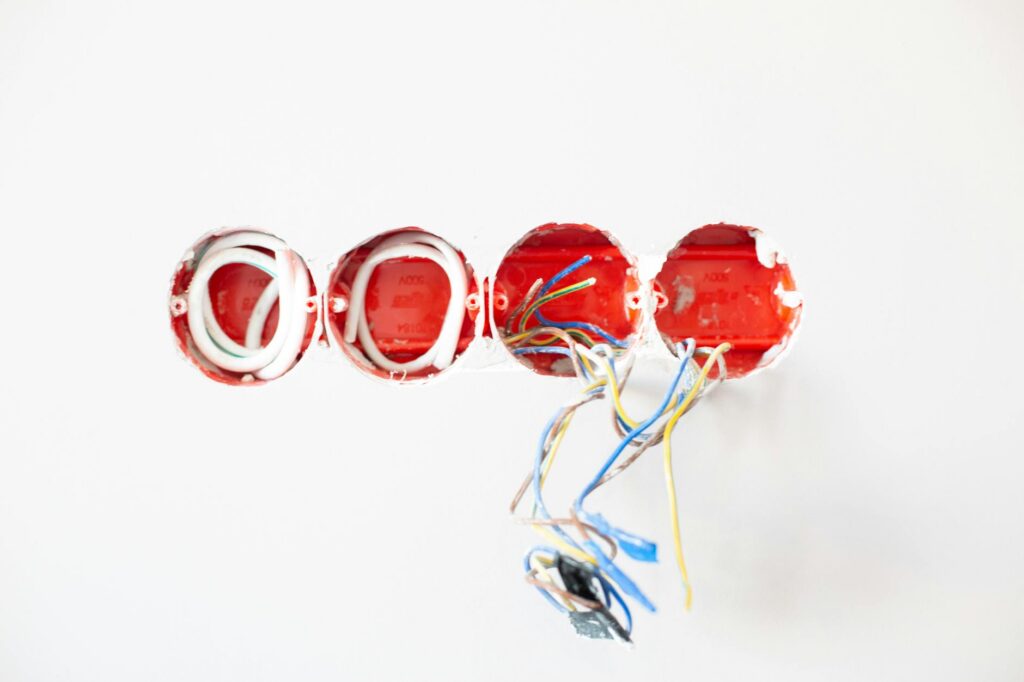
Run your electrical wire from the power source to the first switch location. Then run a three-conductor wire (or three separate two-conductor wires) between the two switch boxes. Finally, run wire from the second switch to the light fixture. Your junction boxes must be appropriately sized for the number of wires entering them—use a wire fill calculator if you’re unsure about box capacity.
Step 3: Connect the First (Power Source) Switch
Strip ½ inch of insulation from each wire. Connect your hot wire (typically black) to the common terminal (usually marked and darker colored) on the first 3-way switch. Connect your two traveler wires (typically red and black, or red and white) to the two remaining brass terminals. Connect the neutral wire (white) to the neutral bar in the junction box, and the ground wire (bare copper) to the ground screw.
Step 4: Connect the Second Switch
Connect the two traveler wires from the first switch to the two traveler terminals on the second 3-way switch. Connect the wire going to your light fixture’s common terminal (this becomes your new “hot” for the fixture). Connect the neutral and ground wires appropriately in the junction box.
Step 5: Connect the Light Fixture
Connect the hot wire from the second switch’s common terminal to the light fixture’s hot terminal. Connect the neutral wire to the fixture’s neutral terminal, and the ground wire to the fixture’s green screw or ground terminal.
Step 6: Test Your Work
Restore power and test both switches. Each switch should independently turn the light on and off, regardless of the other switch’s position. If this doesn’t occur, turn off power immediately and recheck your traveler wire connections.
Common Wiring Mistakes to Avoid
The most frequent error is reversing traveler wires at either switch location. Since these wires simply reroute the circuit path, swapping their positions won’t create a dangerous short circuit—but your switches won’t work properly together. If your light doesn’t respond correctly to one switch, carefully verify that traveler wires connect to traveler terminals (not the common terminal).
Another common mistake involves confusing which terminal is the common. On most 3-way switches, the common terminal is darker or distinctly colored differently from the traveler terminals. Always consult your switch’s packaging or terminal labels before connecting wires.
Never run the traveler wires through the same conduit as the neutral or ground wires without proper separation unless using individual insulated conductors. This can cause crosstalk and unexpected behavior. Additionally, ensure your wire gauge matches your circuit’s amperage: 14 AWG for 15-amp circuits, 12 AWG for 20-amp circuits.
How to Use Our Electrical Calculator
If you’re uncertain about wire sizing or voltage drop calculations for longer switch runs, our wire size calculator helps determine the correct gauge for your specific circuit length and amperage requirements. Enter your circuit amperage, total distance the wire will run, and desired voltage drop percentage to get an accurate recommendation. This ensures your installation meets code and performs safely and efficiently.
Frequently Asked Questions
Can I use a regular switch instead of a 3-way switch?
No. Standard single-pole switches only have two terminals and cannot reroute current the way 3-way switches do. Using a regular switch will result in only one location controlling the light. Both locations must use proper 3-way switches with three terminals for the system to function correctly.
What if my switches are more than 50 feet apart?
For longer runs, voltage drop becomes a consideration. Use our wire sizing calculator to determine if you need larger gauge wire to maintain proper voltage at the light fixture. You may also consider upgrading to 12 AWG wire instead of 14 AWG for runs exceeding 75 feet.
How do I identify which terminal is the common?
The common terminal is typically darker bronze or marked with a “COM” label on the switch body. Consult the switch’s packaging or look for the manufacturer’s labeling. When in doubt, a multimeter set to continuity mode can help identify terminals, though consulting your switch documentation is always safest.
- Electrical Wire and Cable Kit — Essential for 3-way switch installation; users need quality wiring in proper gauges to safely complete the project
- 3-Way Light Switch Set — Direct product match for the installation guide; readers will need actual switches to complete the project
- Non-Contact Voltage Tester — Critical safety tool for electrical work; helps users verify power is off before starting installation to prevent hazards
Related: How to Wire a 3-Way Switch: Complete Step-by-Step Guide
Related: How to Wire a 3-Way Switch: Complete Guide
Related: Ceiling Fan Wiring Guide: Switch Loops and Remote Kits
Related: Transfer Switch vs Interlock Kit: Which Generator Connection Is Best?
SPONSORED
Estimating Software Built for Electrical Contractors
ArcSite lets you draw site plans, create estimates, and close jobs faster — all from your phone or tablet. Used by 100,000+ field service professionals.
Try ArcSite Free →Affiliate partner — we may earn a commission at no cost to you.