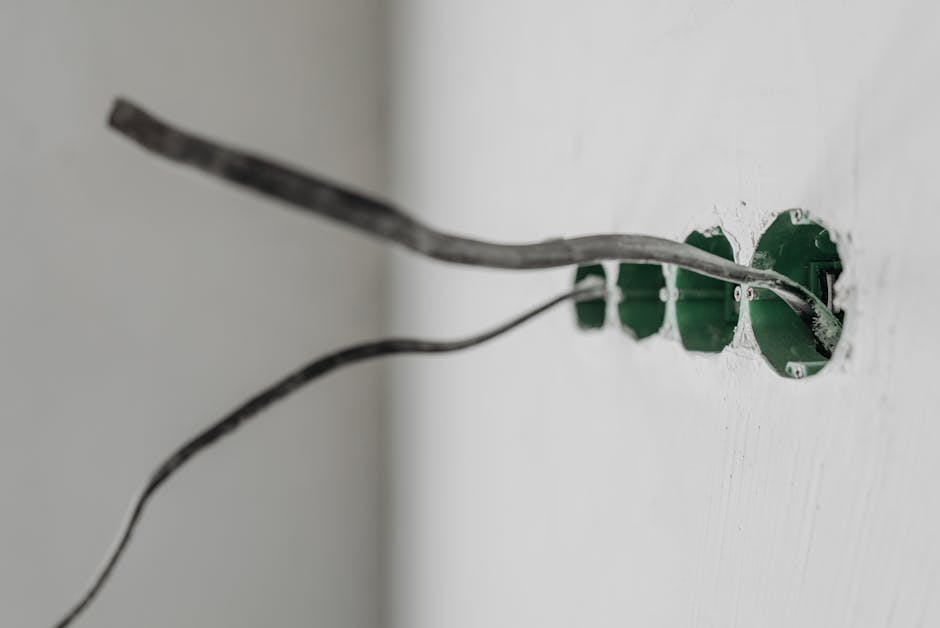
Attic outlet installation requires routing circuits through joists while maintaining proper wire gauge per NEC Article 300, ensuring adequate clearance from insulation, and complying with spacing requirements. Plan circuits carefully to avoid overloading existing breakers and use appropriate conduit or cable supports in constrained attic spaces.
NEC Code Requirements for Attic Outlets
Installing electrical outlets in attic spaces demands strict adherence to the National Electrical Code (NEC). The primary standards governing attic electrical work fall under NEC Article 300 (Wiring and Protection) and Article 725 (Class 1, Class 2, and Class 3 Remote-Control, Signaling, and Power-Limited Circuits).
According to OSHA’s electrical safety guidelines, all attic wiring must be installed in a manner that protects conductors from physical damage. This means running cables through conduit when they cross accessible areas or using cable trays where multiple runs exist together.
What NEC code applies to running electrical circuits in attic spaces?
NEC Article 300 specifically addresses general requirements for all wiring methods and materials. Key provisions include:
- Support and Securing (300.11): Cables must be secured at least every 4.5 feet and within 12 inches of outlet boxes or fittings
- Clearance from Insulation (300.22): Cables must maintain at least 3 inches of clearance from insulation surfaces in attics, unless protected by a thermal barrier
- Protection from Physical Damage: Attic outlets exposed to foot traffic require conduit protection or reinforced cable covers
- Temperature Limitations: Conductor insulation must be rated for the ambient temperature in the attic space
Additionally, NEC Article 210 governs branch circuits and outlets. Every outlet serving general lighting or receptacle circuits must be on a 15 or 20-amp breaker with appropriate wire gauges. Attic work spaces follow the same outlet spacing requirements as living areas—one outlet within 6 feet of every point along the floor.
Planning Circuits for Limited Space Areas
Attic spaces present unique challenges due to limited headroom, joists, and existing insulation. Proper planning prevents costly rework and safety hazards.
Begin by mapping existing circuits using your electrical panel documentation. Identify which breakers have remaining capacity. Most homes operate panels at 60-70% capacity, leaving room for new circuits. However, if your panel approaches 80% utilization, you may need to upgrade before adding outlets.
When routing circuits through joists, maintain clearance above insulation—never compress batts around cables. If insulation contact is unavoidable, use conduit or cable sleeves. Run new circuits parallel to existing wiring where possible to create organized pathways and simplify future maintenance.
For limited space areas, consider these routing strategies:
- Perpendicular Boring: Drill through joists at the center, maintaining 2 inches clearance from top and bottom surfaces
- Notching (Temporary Only): Top-of-joist notches must be protected with a 1.5-inch nail guard plate
- Cable Trays: For multiple circuits, install organized cable trays that protect wires and improve accessibility
- Surface Conduit: Where boring is impractical, surface-mounted conduit provides protection and clean appearance
How do you calculate wire size for outlets in limited attic areas?
Wire sizing depends on circuit amperage, distance from the breaker, and insulation type. Use our wire gauge calculator to determine the correct conductor size based on your specific run length and load requirements.
For most 15-amp circuits in attics under 50 feet from the panel, 14 AWG copper wire is acceptable. However, if your attic run exceeds 50 feet or you’re installing a 20-amp circuit, step up to 12 AWG. Remember that attic temperatures often exceed 140°F in summer—your wire’s insulation rating must match these conditions. Use THWN-2 or other high-temperature rated cables rather than standard NM cable if ambient temperatures regularly exceed 130°F.
Wire Sizing and Circuit Breaker Selection
The relationship between wire gauge, breaker amperage, and distance forms the foundation of safe attic outlet installation. Undersized wiring generates heat; oversized breakers fail to protect undersized conductors during faults.
Standard residential circuits use either 15-amp or 20-amp breakers. A 15-amp breaker requires minimum 14 AWG wire; a 20-amp breaker requires 12 AWG minimum. However, distance affects these selections. Using our voltage drop calculator, verify that your circuit length doesn’t cause excessive voltage loss (over 3% on branch circuits).
For example, a 20-amp circuit running 80 feet to an attic outlet experiences significant voltage drop with 12 AWG wire. Consider upgrading to 10 AWG to maintain acceptable voltage levels, or install an intermediate subpanel closer to the attic work area.
Dedicated circuits for high-draw equipment (like powered attic fans or supplemental heating) require their own breakers. Never share a circuit with general lighting outlets unless the equipment is permanently connected.
Common Installation Challenges and Solutions
Most attic outlet problems stem from poor planning or code violations during initial installation.
Challenge: Insulation Contact and Temperature Issues
Compressed insulation around cables increases fire risk. Solution: Install rigid conduit or cable protective sleeves wherever insulation contact occurs. Verify your wire insulation rating matches attic temperatures.
Challenge: Overloaded Existing Circuits
Adding outlets to existing circuits risks overload if total load exceeds breaker capacity. Solution: Calculate total connected load using NEC demand factors. Install a new dedicated circuit if adding more than 300 watts to any existing circuit.
Challenge: Inadequate Support and Strain Relief
Loose cables fail earlier and create fire hazards. Solution: Install support clips every 4.5 feet and within 12 inches of boxes. Use proper strain relief fittings at panel connections.
Safety Considerations for Attic Electrical Work
Attic work poses unique hazards beyond standard electrical risks. Poor ventilation traps heat; limited headroom creates injury risks; and hidden hazards like asbestos insulation or live circuits demand careful attention.
Before beginning any work, turn off power to the circuits you’ll touch. Test with a non-contact voltage detector to confirm circuits are de-energized. Wear proper protective equipment—insulated boots, long sleeves, and a respirator if disturbing old insulation.
Ensure adequate attic ventilation during work and afterward. Poor ventilation accelerates insulation aging and wire insulation degradation. Install outlet boxes with weathertight covers if the attic space remains subject to temperature extremes.
How to Use the Calculator
Our circuit breaker size calculator helps you determine correct breaker amperage for your attic outlet load. Enter the total wattage of all connected equipment, the wire gauge you’re installing, and the circuit distance from your main panel. The calculator instantly returns the appropriate breaker size and confirms your wire selection meets N
- Electrical Wire Gauge Tester & Wire Stripper Set — Essential tool for selecting proper wire gauge per NEC Article 300 requirements mentioned in the post for safe attic outlet installation
- Non-Metallic (Romex) Cable & Conduit Support Clips — Directly addresses the post’s emphasis on proper cable supports and spacing requirements in constrained attic spaces during circuit routing
- NEC Code Book (National Electrical Code 2026) — Critical reference material for understanding NEC Article 300 compliance and electrical code requirements highlighted throughout the installation guide
Related: 5 Ways to Master Attic Outlet Installation in 2026
SPONSORED
Estimating Software Built for Electrical Contractors
ArcSite lets you draw site plans, create estimates, and close jobs faster — all from your phone or tablet. Used by 100,000+ field service professionals.
Try ArcSite Free →Affiliate partner — we may earn a commission at no cost to you.