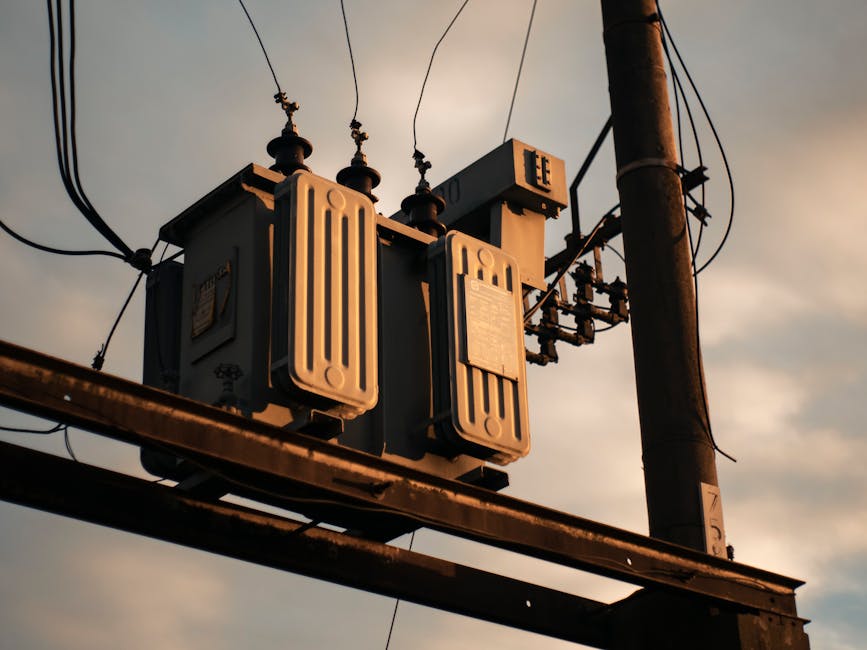
A doorbell transformer is a step-down transformer that converts standard household 120V AC power to low voltage (typically 16-24V AC) required for doorbell systems. Proper installation requires following NEC guidelines, securing the transformer near the main panel, and using appropriate gauge wiring for safe operation.
What is a Doorbell Transformer
A doorbell transformer serves a critical function in your home’s electrical system by reducing the standard 120V household voltage down to the 16-24V AC needed for doorbell chimes and wireless systems. This step-down conversion happens through electromagnetic induction, making it one of the simplest yet most important safety devices in residential wiring.
Unlike high-voltage circuits protecting your home’s major appliances, doorbell transformers operate in the low-voltage category. This classification means they require different installation approaches, material specifications, and safety considerations. Understanding how these transformers work helps you recognize why proper low voltage doorbell installation matters for both functionality and safety.
The transformer itself is typically a small box mounted inside or near your electrical panel, often measuring 4-6 inches on each side. It contains a primary coil (connected to 120V power) and a secondary coil (producing low voltage output). Modern doorbell systems have become increasingly sophisticated, but the fundamental transformer principle remains unchanged since its invention over a century ago.
NEC Code Requirements for Doorbell Transformers
The National Electrical Code establishes specific requirements for doorbell transformer installation to prevent electrical hazards and ensure system reliability. According to OSHA’s electrical safety guidelines, all transformers must be installed according to applicable electrical codes in your jurisdiction.
Key NEC requirements include:
- Location and Accessibility: Transformers must be mounted in accessible locations, typically near the main electrical panel or in utility areas. This allows for inspection and maintenance without creating hazards.
- Overcurrent Protection: Primary circuits require overcurrent protection per doorbell transformer NEC code standards, typically using a 20-amp breaker or fused disconnect.
- Voltage Specifications: Output voltage must match your doorbell system requirements, commonly 16V or 24V AC for residential applications.
- Grounding Requirements: While low-voltage circuits have different grounding rules than high-voltage systems, proper bonding practices still apply.
Where should a doorbell transformer be mounted according to NEC code?
NEC code specifies that doorbell transformers should be mounted in readily accessible locations, preferably within sight of the main electrical panel. Many electricians secure transformers directly to the panel enclosure or on a nearby wall stud. This placement allows for easy access during troubleshooting and ensures the transformer remains protected from physical damage. Avoid mounting transformers in damp locations, crawl spaces prone to flooding, or areas where they could be easily damaged by stored items.
What wire gauge is required for doorbell transformer circuits?
The primary circuit (120V side) typically uses 18-gauge solid copper wire protected by a 20-amp breaker, while secondary circuits (low-voltage side) commonly use 18-gauge stranded wire. However, wire gauge depends on circuit length and amperage requirements. For runs exceeding 50 feet on the secondary side, many installers upgrade to 16-gauge wire to minimize voltage drop. Always consult your specific transformer manufacturer specifications and local electrical codes, as requirements vary by jurisdiction and application.
Step-by-Step Wiring Installation Guide
Proper how to wire doorbell transformer installation follows a methodical sequence that prioritizes safety at every stage. Before beginning any work, shut off power at the main panel and test circuits to confirm the power is off.
Step 1: Plan Your Circuit Path – Determine the most direct route from your electrical panel to the transformer location, then plan secondary wiring paths to your doorbell chime and button locations. This planning phase prevents unnecessary wire runs and reduces voltage drop across the system.
Step 2: Install the Transformer Base – Secure the transformer mounting bracket to wall studs or the panel enclosure using appropriate fasteners. Ensure the base is level and positioned for easy access and adequate ventilation.
Step 3: Connect Primary Power – Run 14-gauge copper wire from a dedicated 20-amp breaker in your main panel to the transformer primary terminals. Use wire connectors rated for the conductor size and ensure connections are tight and corrosion-free.
Step 4: Connect Secondary Wiring – Attach 18-gauge stranded wire to the transformer secondary terminals, which will deliver low voltage to your doorbell system. Label both ends of these wires clearly for future reference.
Step 5: Route Secondary Wires – Run secondary wires through walls, conduit, or along baseboards to your chime and doorbell button locations. Avoid running low-voltage wires alongside high-voltage circuits to prevent electromagnetic interference.
Step 6: Connect to Chime and Button – Attach secondary wires to your doorbell chime unit and pushbutton according to manufacturer instructions. Proper terminal connections ensure reliable signaling.
Step 7: Test and Verify – After completing connections, use a multimeter to verify transformer output voltage matches specifications (typically 16-24V AC). Test doorbell operation by pressing the button and listening for chime response.
Safety Considerations and Best Practices
Although doorbell transformers operate at low voltage on the secondary side, the primary side connects directly to 120V household power. Never bypass overcurrent protection or attempt modifications without proper knowledge. Always turn off circuit breakers before working on any wiring, and use appropriate tools designed for electrical work.
Proper ventilation around the transformer prevents heat buildup, which can shorten the transformer’s lifespan. Transformers generate minimal heat during normal operation, but inadequate airflow can still cause degradation. Additionally, protect transformer connections from moisture and corrosion by using appropriate terminal covers and wire connectors rated for outdoor use if the transformer is exposed to weather.
Common Wiring Mistakes to Avoid
Undersizing wire gauge on long secondary runs causes voltage drop, resulting in weak or inconsistent doorbell operation. The longer your secondary circuit, the more voltage drop occurs—proper calculations prevent this problem. Using inappropriate connectors or loose connections introduces resistance that generates heat and potential fire hazards. Additionally, failing to label wires creates confusion during troubleshooting and may lead to incorrect reconnections.
Many homeowners also neglect to install overcurrent protection or use incorrect breaker sizes on the primary side. This creates a serious safety hazard and violates electrical code. Finally, mixing high-voltage and low-voltage wiring in the same conduit without proper separation causes electromagnetic interference and potential system failures.
Troubleshooting Doorbell Transformer Issues
If your doorbell stops functioning, first verify that the transformer is receiving 120V power at the primary terminals using a multimeter. Then check the secondary terminals for proper output voltage. If voltage is absent or incorrect, the transformer may be faulty and require replacement.
Weak chime response despite proper voltage suggests wire gauge problems or corroded connections. Inspect all terminals and consider upgrading to larger wire gauge. Intermittent operation often indicates loose connections or corrosion, which tightening terminal screws or cleaning with a wire brush usually resolves.
Related: doorbell transformer wiring guide
Related: outlet spacing requirements guide
Related: amps to kW conversion guide
Related: 3 phase voltage drop formula
How to Use the Calculator
For more complex installations involving extended wire runs, use our voltage drop calculator to determine appropriate wire gauges for your specific circuit length and amperage requirements. This ensures your low voltage doorbell installation maintains proper voltage at the chime location. You can also reference our Recommended Resources:
- Doorbell Transformer 16V AC — Core product directly referenced in the post; essential component for the installation project being discussed
- Electrical Wire Gauge Kit & Strippers — Post emphasizes using appropriate gauge wiring for safe operation; essential tool for proper doorbell transformer installation
- NEC Electrical Code Book 2026 — Post highlights following NEC guidelines as critical for proper installation; reference resource for DIYers and professionals