Choosing the correct wire gauge is one of the most critical decisions in any electrical project. Whether you’re running power to a shed, installing a 240-volt appliance, or wiring a home solar system, selecting the wrong wire size can lead to voltage drop, overheating, fire hazards, and equipment damage. A wire gauge calculator eliminates guesswork and ensures your installation meets the National Electrical Code (NEC) standards while protecting your investment.
This comprehensive guide walks you through everything you need to know about wire gauge selection, how calculators simplify the process, and why using the right tool matters for safety and performance.
What Is Wire Gauge and Why It Matters
Wire gauge refers to the thickness or cross-sectional area of electrical wire, measured in AWG (American Wire Gauge). The system works counterintuitively—lower numbers mean thicker wires, and higher numbers mean thinner wires. For example, 10 AWG wire is much thicker than 14 AWG wire.
The gauge you select directly affects three critical factors: amperage capacity, voltage drop, and cost. A wire that’s too thin cannot safely handle the current flowing through it, causing it to heat up and potentially start a fire. A wire that’s too thick wastes money and makes installation unnecessarily complicated. A wire gauge calculator helps you find the perfect middle ground by considering your specific installation requirements.
Standard residential wiring uses gauges ranging from 14 AWG (for light circuits) to 2 AWG (for large appliances and main service). Heavy-duty commercial applications may require even larger gauges or multiple conductors.
How a Wire Gauge Calculator Works
A proper wire gauge calculator takes multiple variables into account to recommend the correct wire size for your project. Rather than relying on rough estimates or outdated charts, modern calculators use the NEC guidelines and Ohm’s law to deliver accurate results in seconds.
Most calculators require you to input the following information:
- Amperage: The maximum current your circuit will draw, measured in amps. For known appliances, check the nameplate; otherwise, use the formula Amps = Watts ÷ Volts.
- Voltage: Whether your system is 120V, 240V, 277V, or another standard.
- Distance: The distance in feet from the power source to the load. Longer distances require thicker wire to compensate for voltage drop.
- Voltage Drop Percentage: The acceptable voltage loss, typically 3% for branch circuits and 5% for main feeder lines according to NEC standards.
- Wire Type: Copper or aluminum (aluminum is cheaper but requires larger gauges) and insulation rating.
- Installation Method: Whether wires are in conduit, in air, buried underground, or bundled together. Bundled or enclosed wires need larger gauges because heat dissipation is reduced.
The calculator then processes this data using established electrical formulas and outputs the minimum recommended wire gauge, the ampacity at that gauge, and often the expected voltage drop percentage for your exact setup.
Common Wire Gauge Applications and Examples
Understanding typical wire gauges for common situations helps you recognize whether a calculator’s recommendation makes sense. Here are practical examples:
Household Lighting Circuits (15-20 amps, short distances): 14 or 12 AWG wire is standard. A 14 AWG wire can handle 15 amps safely over typical 50-100 foot branch circuits.
Kitchen and Bathroom Outlets (20 amps, high-power appliances): 12 AWG wire is required by code. It safely handles 20 amps and is mandated in kitchens and bathrooms where wet conditions increase shock risk.
Electric Dryers and Ovens (240V, 40-50 amps): Most residential electric dryers need 10 AWG wire, while some larger models require 8 AWG. Running 10 AWG 50 feet to a detached garage might require upgrading to 8 AWG due to voltage drop.
Outdoor and Ground-Mount Solar Systems: Typical residential solar installations use 10 AWG to 4 AWG depending on array size and distance from the inverter. A 20 kW system might use 4/0 AWG or larger copper conduit.
Subpanel Installation: Running a 100-amp subpanel 150 feet from the main panel typically requires 2/0 or 3/0 AWG copper wire to keep voltage drop below 3%.
Voltage Drop Calculations Explained
Voltage drop occurs because electricity encounters resistance as it travels through wire. The longer the distance and the thinner the wire, the greater the voltage drop. This isn’t just theoretical—it causes real problems.
If you run a 20-amp circuit 200 feet on 12 AWG wire, you might experience a 7-8% voltage drop. This means a 120V outlet at the end only delivers about 112V, which is enough to damage motor-driven appliances like HVAC compressors or reduce LED light output by 10-15%.
The NEC recommends keeping voltage drop to 3% on branch circuits and 5% on feeder circuits (combined). A wire gauge calculator automatically ensures your recommended gauge stays within these limits, protecting equipment lifespan and performance. For critical applications like medical equipment or data centers, even lower voltage drops (1-2%) are necessary.
Cost Considerations and Savings
Using a wire gauge calculator saves money by preventing over-specification. A common mistake is automatically choosing the largest available gauge “just to be safe.” While overkill wire improves performance slightly, the cost escalates quickly. For example, 100 feet of 10 AWG copper wire costs roughly $40-60, while 8 AWG costs $60-90, and 4 AWG costs $120-160.
A calculator ensures you purchase exactly what you need, not more. For larger projects like home rewiring or commercial installations, this precision can save thousands of dollars in material and labor costs. Additionally, properly sized wire reduces energy losses, saving 2-5% on electricity bills for long runs.
When choosing between copper and aluminum, remember that aluminum costs 30-40% less but requires two wire sizes larger than copper (e.g., 8 AWG aluminum instead of 10 AWG copper). This often negates the cost savings, especially for residential work.
Frequently Asked Questions
What happens if I use wire that’s too small for my application?
Using undersized wire causes excessive heat buildup because the wire’s resistance exceeds its ampacity rating. This heat can melt the insulation, create fire hazards, trigger breaker nuisance trips, and damage connected equipment. The wire may also fail prematurely, interrupting your electrical service unexpectedly.
Can I use a larger wire gauge than the calculator recommends?
Yes, using oversized wire is safe and actually improves performance by reducing voltage drop even further. The trade-off is cost and the difficulty of fitting thicker wire into conduit or connection points. For most applications, following the calculator’s recommendation is the most cost-effective approach.
Does the type of insulation affect wire gauge selection?
Insulation type (THHN, NM, XHHW, etc.) affects the wire’s temperature rating and allows different ampacities, but the core copper or aluminum conductor size—the gauge—remains the same. Your calculator should account for the insulation type to ensure the ampacity matches your specific wire’s temperature rating.
How do I know what amperage my circuit needs?
Check the nameplate on appliances for watts and amps. For new circuits, add up the wattage of all devices and divide by voltage (Amps = Watts ÷ Volts). For lighting circuits, assume 1.5 amps per fixture. Always round up to the next amperage to ensure adequate capacity for future growth.
Why do solar installers need larger wire gauges than regular electricians?
Solar systems operate at higher currents in DC mode, which travels longer distances from rooftop arrays to ground-level inverters. This amplifies voltage drop. A rooftop solar array 100 feet from the inverter on a 40-amp circuit might need 4 AWG or larger, whereas a standard 40-amp household circuit at the same distance might only need 8 AWG AC wire due to different electrical characteristics and code requirements.
Conclusion
A wire gauge calculator transforms electrical planning from guesswork into precise, code-compliant engineering. By accounting for amperage, distance, voltage drop, wire type, and installation method, these tools deliver accurate recommendations that balance safety, performance, and cost.
Whether you’re a professional electrician planning a commercial project or a homeowner wiring a garage, the right wire gauge is non-negotiable. Undersizing creates fire hazards and equipment damage. Oversizing wastes money unnecessarily. A calculator finds the optimal balance, ensuring your electrical system operates safely for decades while keeping your project budget in check.
Reference NEC standards in your area, double-check your inputs, and always install wire that exceeds—never falls short of—your calculator’s recommendation when in doubt.
Use Our Free Electrical Calculator
Stop second-guessing your wire size selection. Head to our free electrical calculator at electricalcalcpro.com and input your amperage, distance, and voltage requirements. Instantly receive your precise wire gauge recommendation, expected voltage drop percentage, and cost estimates for copper and aluminum options. Our calculator follows current NEC guidelines and
- Digital Wire Gauge Micrometer — Practical tool for electricians and DIYers to physically measure wire sizes accurately, complementing the calculator guide
- Electrical Wire Assortment Kit — Provides common wire gauges referenced in the guide, helping readers source quality cables for their projects
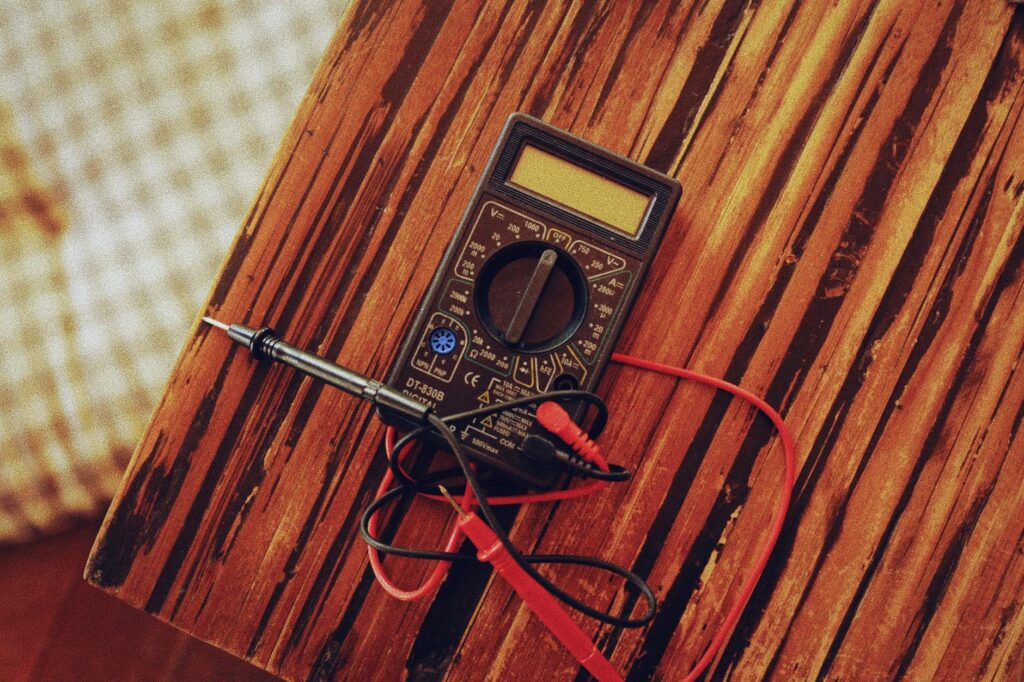
- Fluke Digital Multimeter — Essential testing equipment for verifying electrical installations and ensuring proper wire gauge selection in real-world applications
Related: Wire Gauge Calculator: Complete Guide to Choosing the Right Electrical Wire Size
Related: Wire Gauge Calculator: Complete Guide to Selecting the Right Wire Size for Your Project
SPONSORED
Estimating Software Built for Electrical Contractors
ArcSite lets you draw site plans, create estimates, and close jobs faster — all from your phone or tablet. Used by 100,000+ field service professionals.
Try ArcSite Free →Affiliate partner — we may earn a commission at no cost to you.