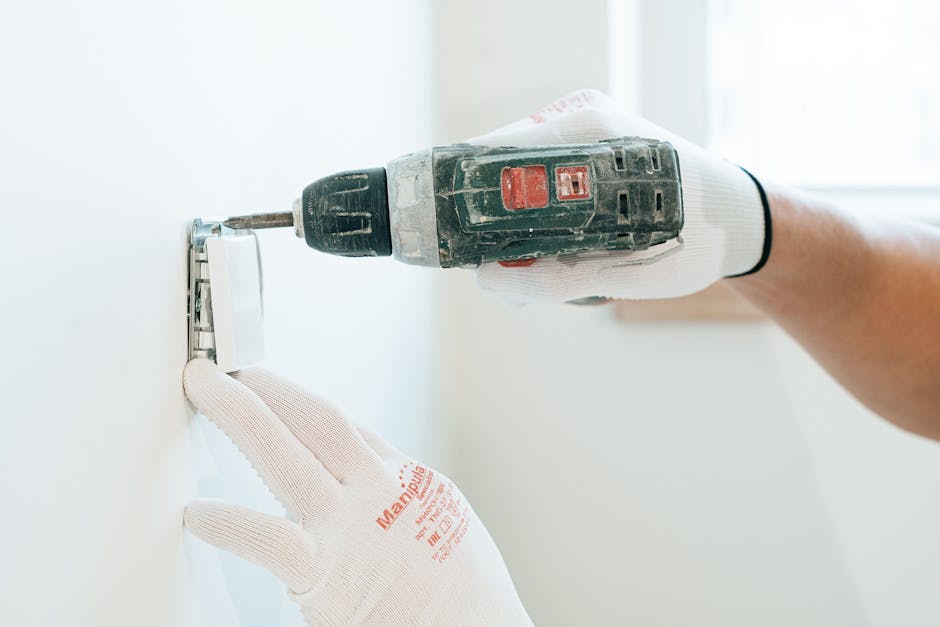
Attic outlet installation requires adherence to NEC codes, including proper wire gauge selection, adequate support spacing, and temperature ratings for attic environments. Circuits must be protected with appropriate breakers, and wiring must maintain clearance from insulation and structural elements in confined spaces. (Related: Washington State L&I Electrical Safety Standard Updates and NEC Code Compliance) (Related: Conduit Fill Calculator: Size Conduit the Right Way) (Related: Ohm’s Law Calculator: The Complete Guide to Voltage, Current, and Resistance) (Related: Commercial electrical service requirements and NEC code compliance for business installations in Pacific Northwest) (Related: Complete Guide to Three-Phase Power Residential Installation in 2026) (Related: Dimmer Switch Installation Load Limits: The Complete 2026 Guide)
NEC Code Requirements for Attic Outlets
Before running a single wire, understanding the applicable code requirements protects your safety and ensures the installation passes inspection. The National Electrical Code governs attic electrical wiring, and several articles apply directly to this type of work.
What NEC code applies to attic electrical installations?
NEC Article 334 covers nonmetallic-sheathed cable (Romex), which is the most common wiring method used in residential attics. Article 300 addresses general wiring methods and specifically requires that cables be protected when passing through framing members or running along surfaces where physical damage is possible.
Key code points for attic outlet installation include:
- NEC 334.23 – Cable installed in attics must be protected by guard strips when running across the top of floor joists within 6 feet of the attic access opening
- NEC 210.52 – Defines outlet placement requirements, though attics used only for storage or mechanical equipment have different spacing rules than habitable spaces
- NEC 110.14 – Conductor temperature ratings must match the environment; attics can exceed 140°F, requiring 90°C-rated wire in many climates
- NEC 300.4 – Cable must maintain a minimum of 1.25 inches from the edge of framing members, or be protected with steel nail plates
According to OSHA’s electrical safety standards, improperly installed wiring in confined and elevated spaces like attics represents one of the leading causes of electrical fires in residential structures. Code compliance is not optional — it is the baseline for safe installation.
Planning Your Attic Circuit Layout
Effective planning before you pull wire saves significant time and prevents costly rework. Running circuits in attic spaces demands a layout strategy that accounts for routing challenges, load demand, and future access needs.
How do you run circuits through limited attic space?
Start by identifying your load requirements. Is this circuit for lighting, a whole-house fan, HVAC equipment, or convenience outlets? Each use case determines the wire gauge and breaker size before you map the route.
For routing strategy in limited space outlet installation, follow these steps:
- Map the route from the panel up – Identify the shortest path from your main panel to the attic, typically through an interior wall cavity
- Locate joists and rafters – Mark every structural member your cable must cross or run alongside
- Plan protection zones – Any cable within 6 feet of the access hatch requires physical protection with wood guard strips (minimum 1-inch thickness)
- Account for insulation clearance – Keep wiring separated from blown insulation where possible, as insulation traps heat and can degrade conductor insulation over time
- Identify junction point locations – Plan junction box placements where they remain accessible per NEC 314.29
Use a fish tape or flexible drill bit system to snake cable through wall cavities when dropping down from the attic to outlet locations below. A glow rod set makes navigating around insulation batts significantly easier in confined spaces.
Wire Sizing and Circuit Protection
Selecting the correct wire gauge for attic electrical wiring is critical, especially given the elevated ambient temperatures common in unconditioned attic spaces. Heat reduces a conductor’s current-carrying capacity — a phenomenon called ampacity derating.
Standard residential sizing guidelines:
- 15-amp circuit – 14 AWG copper, suitable for lighting and low-load outlets
- 20-amp circuit – 12 AWG copper, required for general-purpose outlet circuits
- 30-amp circuit – 10 AWG copper, used for larger equipment like whole-house fans
When attic temperatures regularly exceed 86°F (30°C), NEC Table 310.15(B)(2) requires ampacity correction factors. In practical terms, this often means stepping up one wire gauge or using cable rated for higher temperatures. Using 12 AWG THHN wire rated at 90°C inside conduit offers a safer margin than standard NMB in extreme heat environments.
All attic outlet circuits require AFCI (Arc Fault Circuit Interrupter) protection per NEC 210.12 in dwelling units. This is non-negotiable for bedrooms and most living areas — and increasingly required throughout the home under recent code cycles.
To confirm your wire sizing is appropriate for your specific load, use the wire size calculator at ElectricalCalcPro, which accounts for conductor length, amperage, and voltage drop over longer attic runs.
Installation Best Practices in Confined Spaces
Working safely in attic spaces requires planning beyond the electrical work itself. Personal protective equipment, structural awareness, and heat management all factor into a successful attic outlet installation.
Safety essentials before starting:
- Work during cooler parts of the day — attic temperatures can reach dangerous levels midday in summer
- Use a proper work board or plywood sheet laid across joists to avoid stepping through the ceiling below
- Wear an N95 respirator when working near insulation, especially older vermiculite or fiberglass blown insulation
- Keep a portable work light positioned where it illuminates the work area without creating a trip hazard
Cable securing requirements: NMB cable must be stapled or secured within 12 inches of every box and every 4.5 feet along its run. In attics, this typically means stapling to the sides of joists rather than the top surface when running parallel to the framing.
When drilling through top plates or rafters, protect cables with nail plates wherever the drilled hole is within 1.25 inches of the framing surface. This protects against future fastener penetration during roofing or flooring work above.
Common Mistakes to Avoid
Even experienced DIYers run into predictable problems with attic electrical wiring. Avoiding these errors prevents failed inspections and potential hazards:
- Skipping guard strips near the access opening – This is one of the most cited NEC violations during attic electrical inspections
- Using NM-B cable in conduit runs through hot attics – NM-B is rated for use in conduit only in dry locations; use individual THHN conductors in conduit for high-heat environments
- Failing to derate ampacity – Running full-rated circuits without applying temperature correction can lead to nuisance tripping or insulation damage
- Leaving junction boxes buried in insulation – All boxes must remain accessible; mark their locations clearly and use extension rings if insulation depth increases
- Undersized breakers for equipment loads – Always calculate total connected load before selecting breaker size
Calculating Load Requirements for Attic Areas
Recommended Resources:
- Romex Wire Assortment (12/2, 10/2, 14/2 NM Cable) — Essential for attic circuit installation; the post emphasizes proper wire gauge selection for NEC compliance
- Circuit Breaker Panel Tester & Multimeter — Critical safety tool for testing circuits and ensuring proper protection with appropriate breakers as mentioned in the guide
- Electrical Wire Support Clips & J-Hooks — Directly addresses the post’s requirement for adequate support spacing and proper wire management in attic installations
- Romex Wire Assortment (12/2, 10/2, 14/2 NM Cable) — Essential for attic circuit installation; the post emphasizes proper wire gauge selection for NEC compliance
- Circuit Breaker Panel Tester & Multimeter — Critical safety tool for testing circuits and ensuring proper protection with appropriate breakers as mentioned in the guide
- Electrical Wire Support Clips & J-Hooks — Directly addresses the post’s requirement for adequate support spacing and proper wire management in attic installations
Related: 5 Ways to Master Attic Outlet Installation in 2026
Related: 5 Essential Steps for Attic Outlet Installation in 2026
Related: USB Outlet and Smart Outlet Installation: Compatibility Guide
SPONSORED
Estimating Software Built for Electrical Contractors
ArcSite lets you draw site plans, create estimates, and close jobs faster — all from your phone or tablet. Used by 100,000+ field service professionals.
Try ArcSite Free →Affiliate partner — we may earn a commission at no cost to you.